|
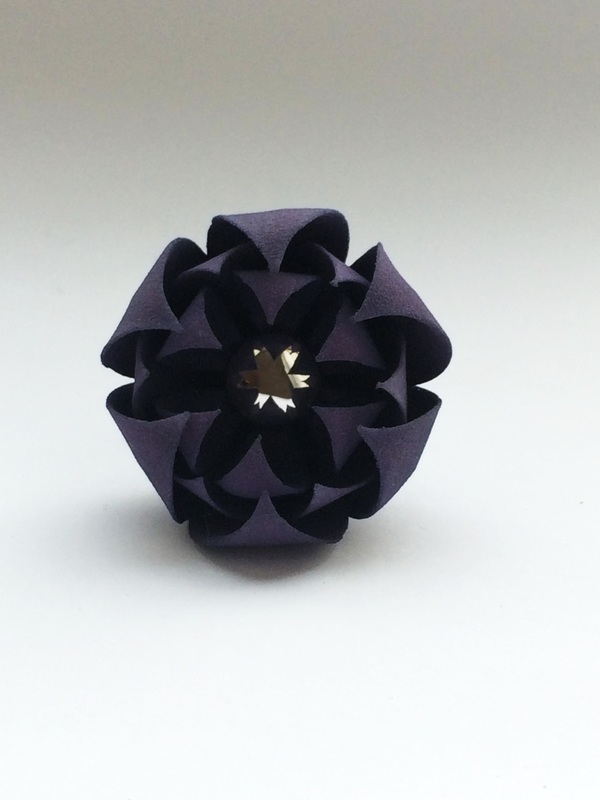
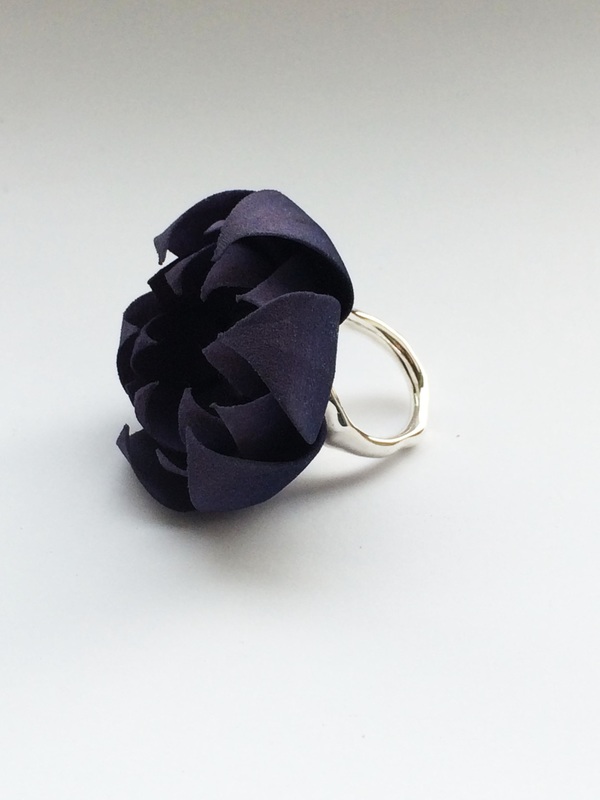
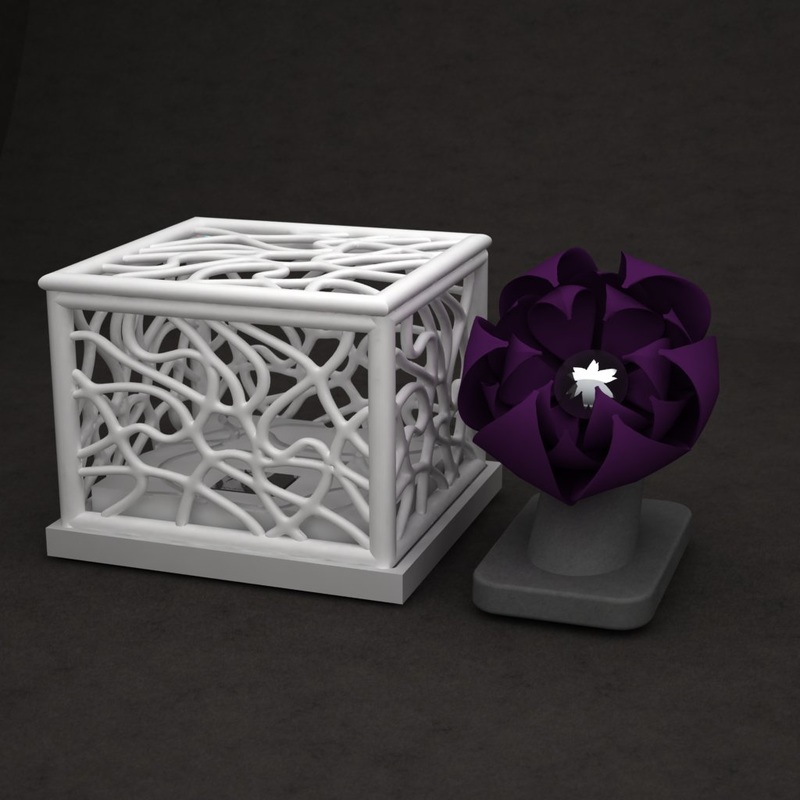
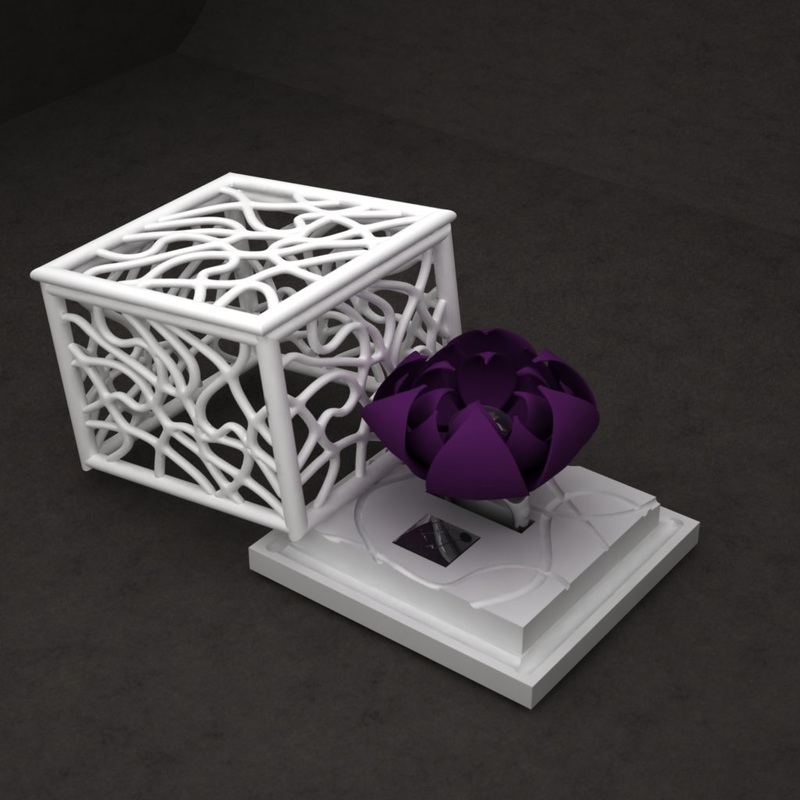
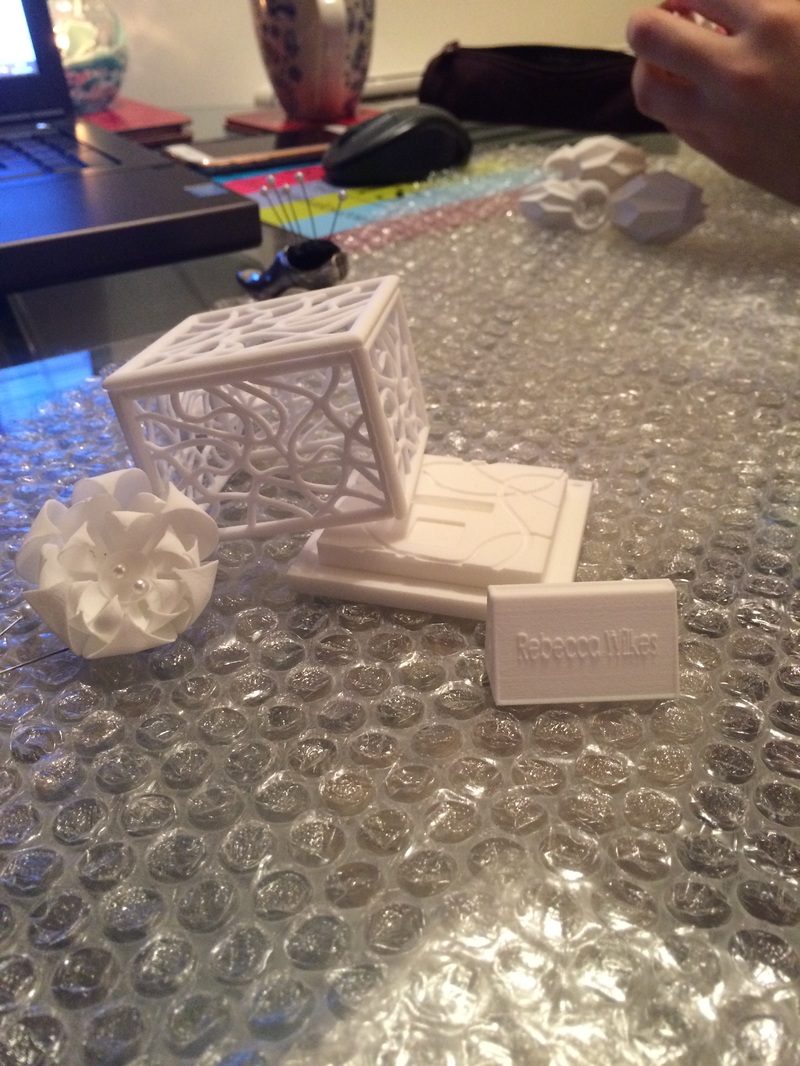
Today is the day of this module's hand in and I'm very excited to show you the final product. After seven weeks of fairly intense development of my skills base and the product itself I think that what you can see in the image below utilities laser technology in a creative and functional way. There are improvements that I would make to this; such as the functionality of it and how it isn't commercially viable right now as a one off piece. However overall I think that the concept of the piece is a success and the dyeing research definitely paid off as it helps to make the piece completely unique because every one I dye will turn out slightly different. I like that the box is designed around the ring so it's a perfect fit and it is also printed at the same time as the flower parts so you essentially have your ring ready made, complete with packaging when you get you prints back.
If anyone reading this is interested in laser sintering then i couldn't recommend Digits2Widgets more highly m their service is so personal and very helpful if you have a problem and the final product is a great quality.
3 Comments
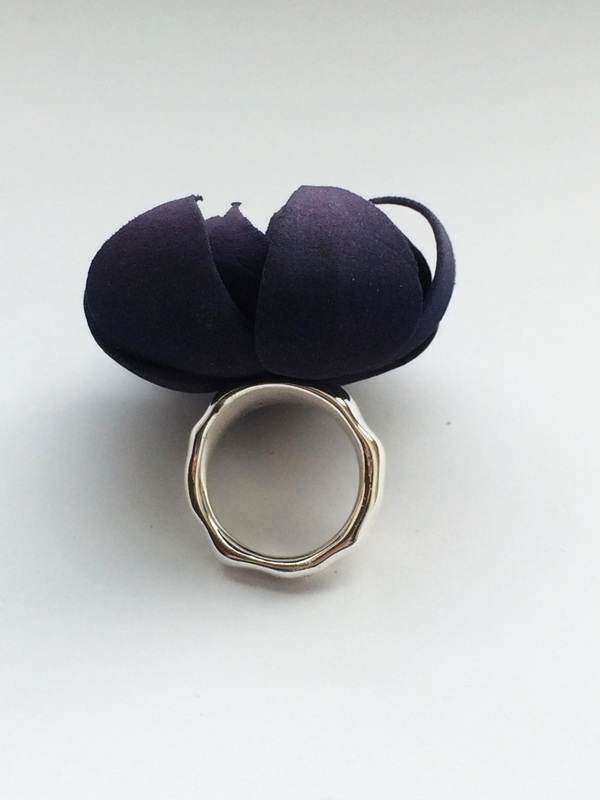
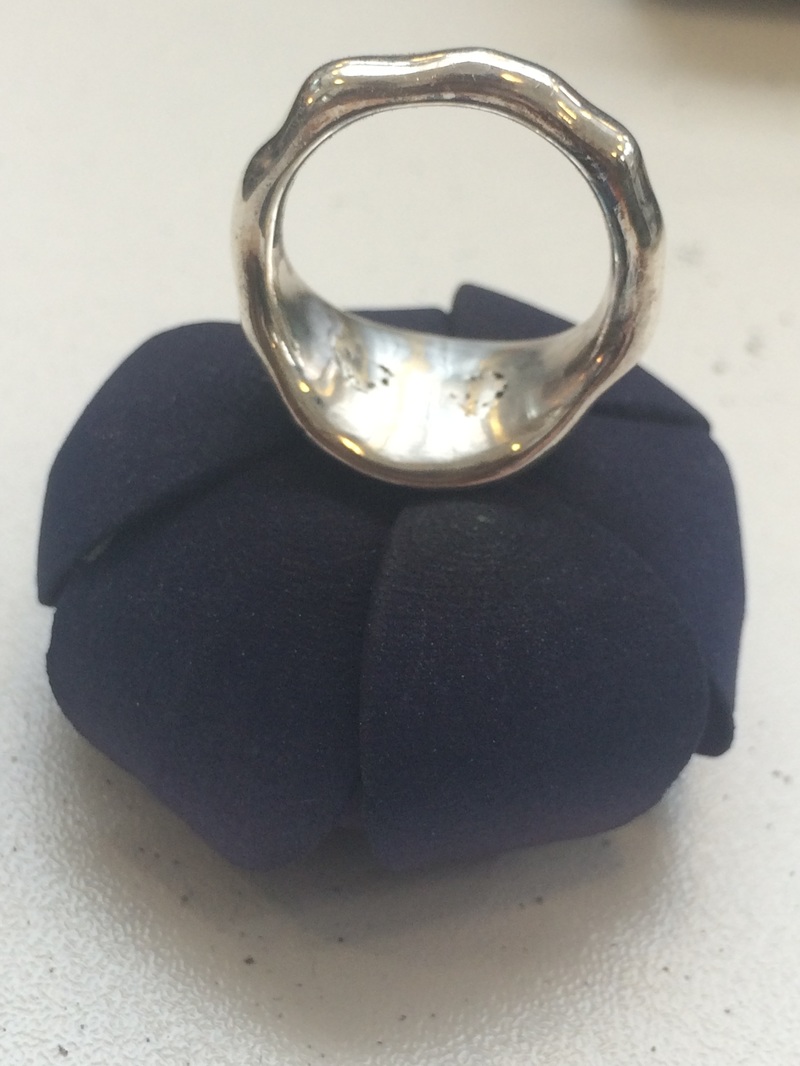
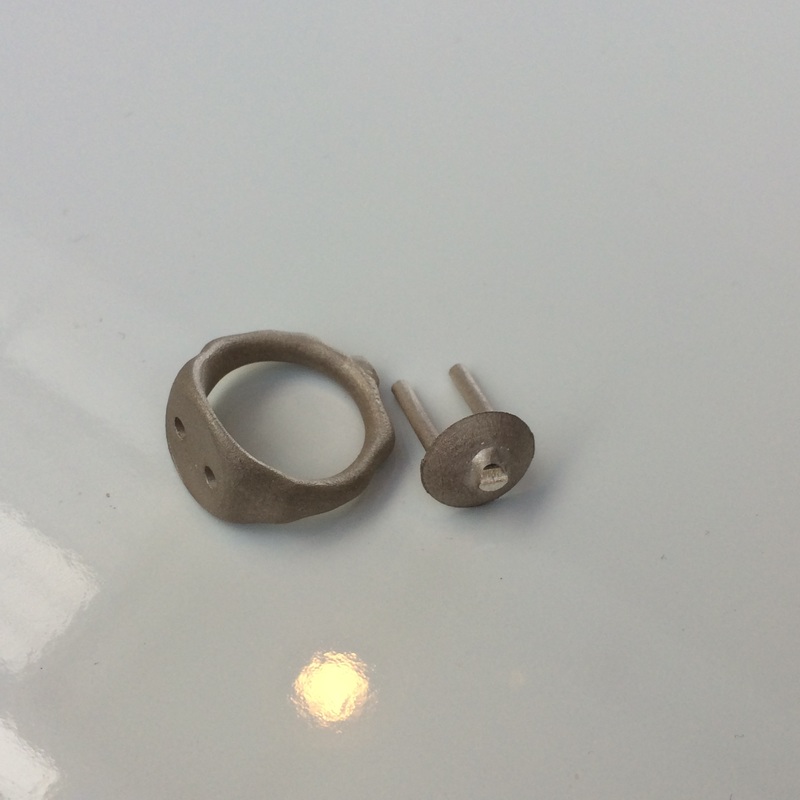
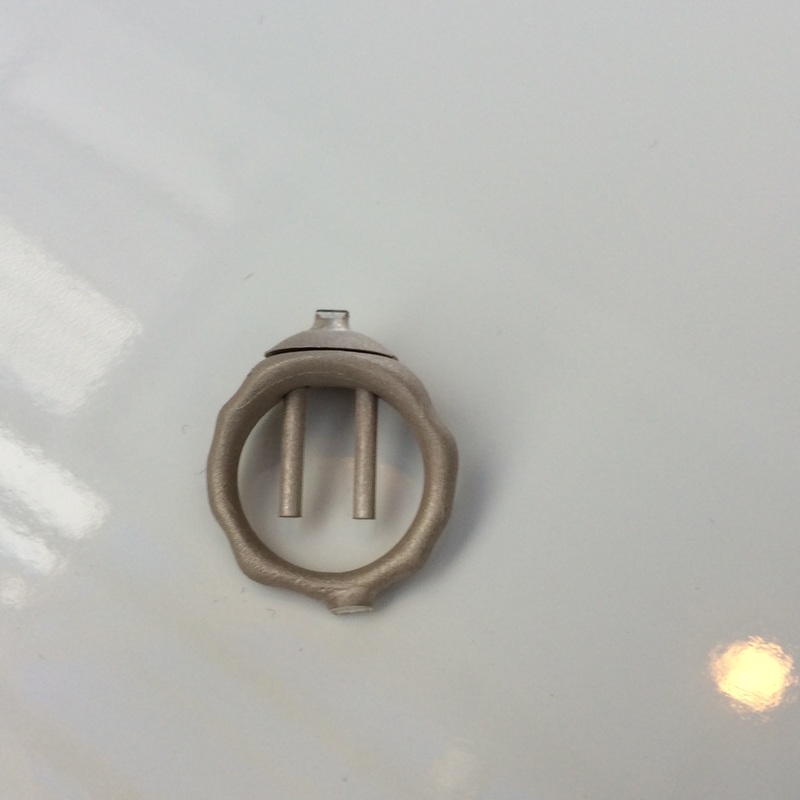
From welding the ring together I found that the location holes don’t need to be quite as offset as I made them. The pins need to be more of a snug fit as I found it hard to weld together without there being holes still visible in the shank. I had to stop filling them up as I was making more holes than filling them and the shank was becoming too large from the buffing away of the excess filler wire.
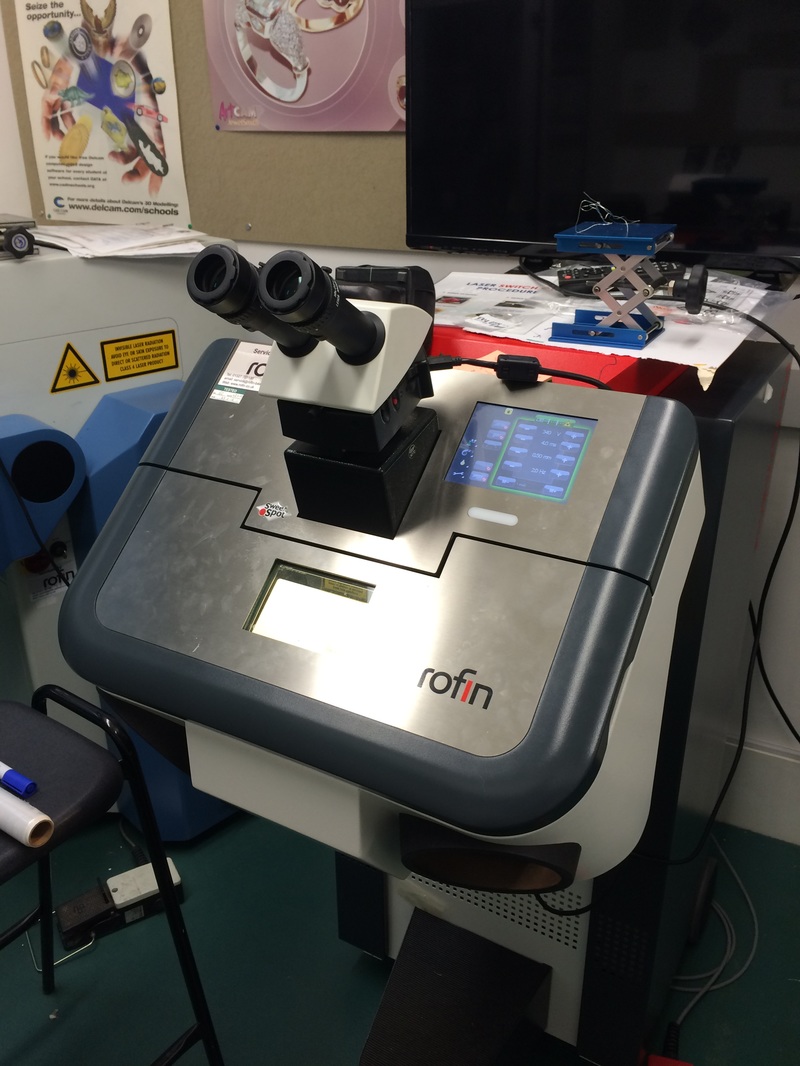
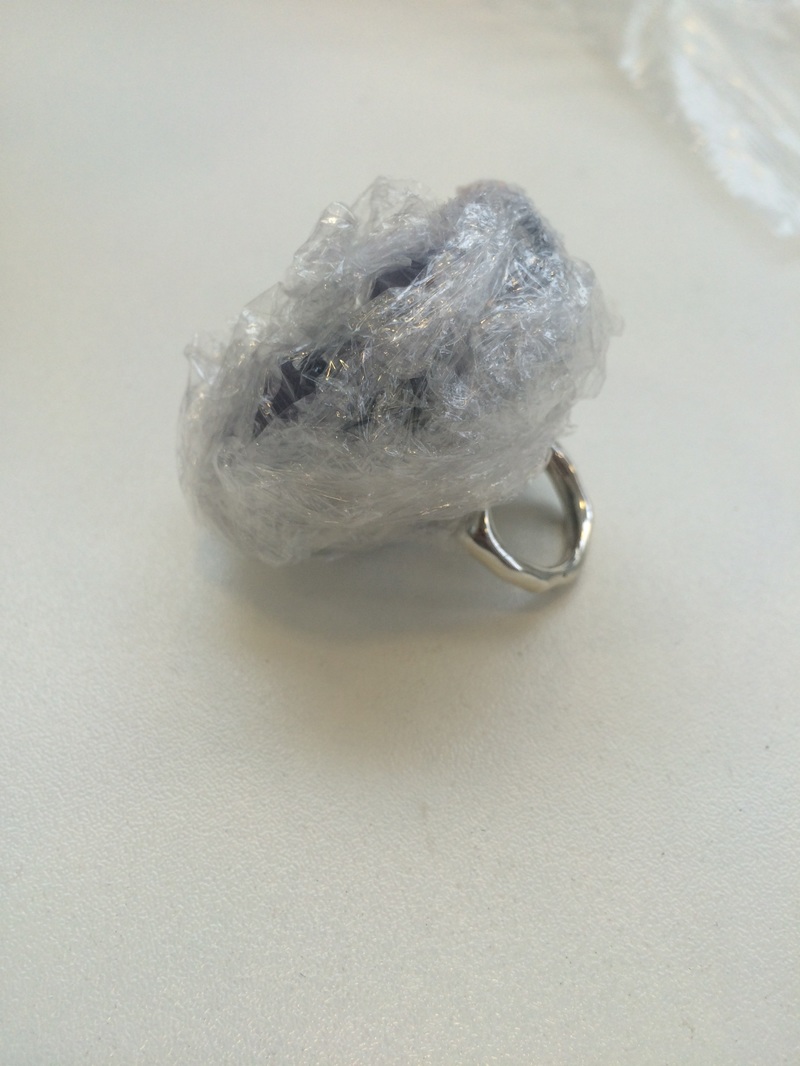
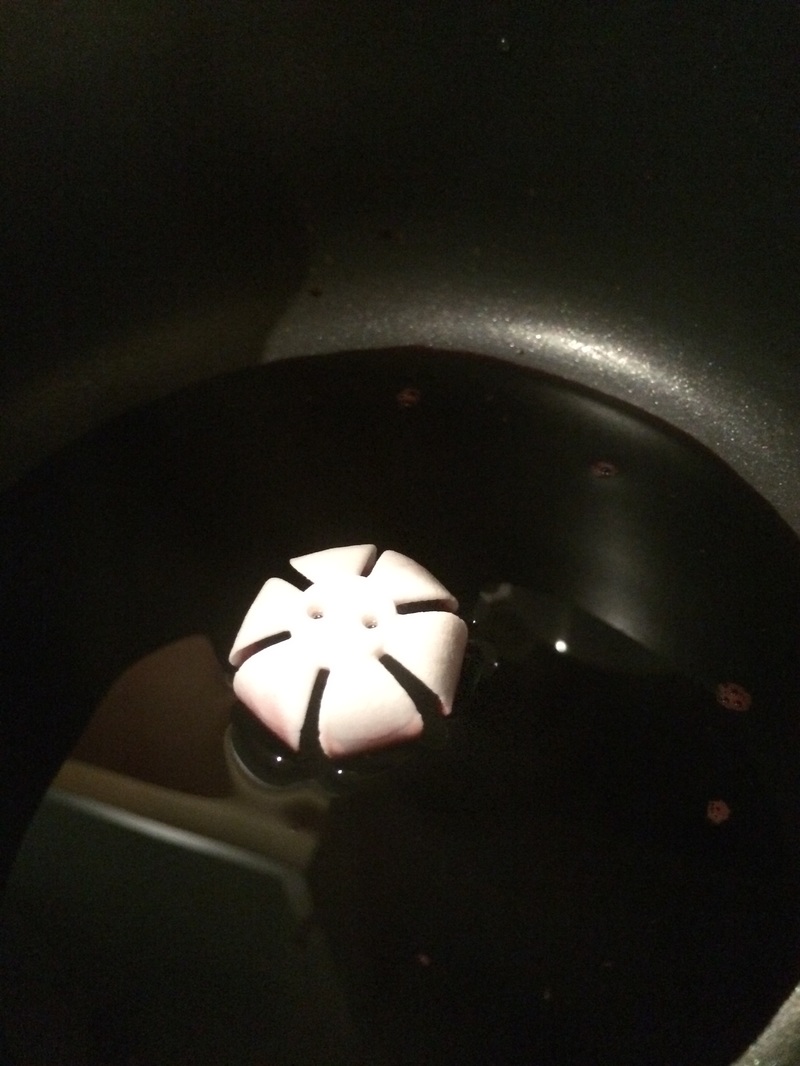
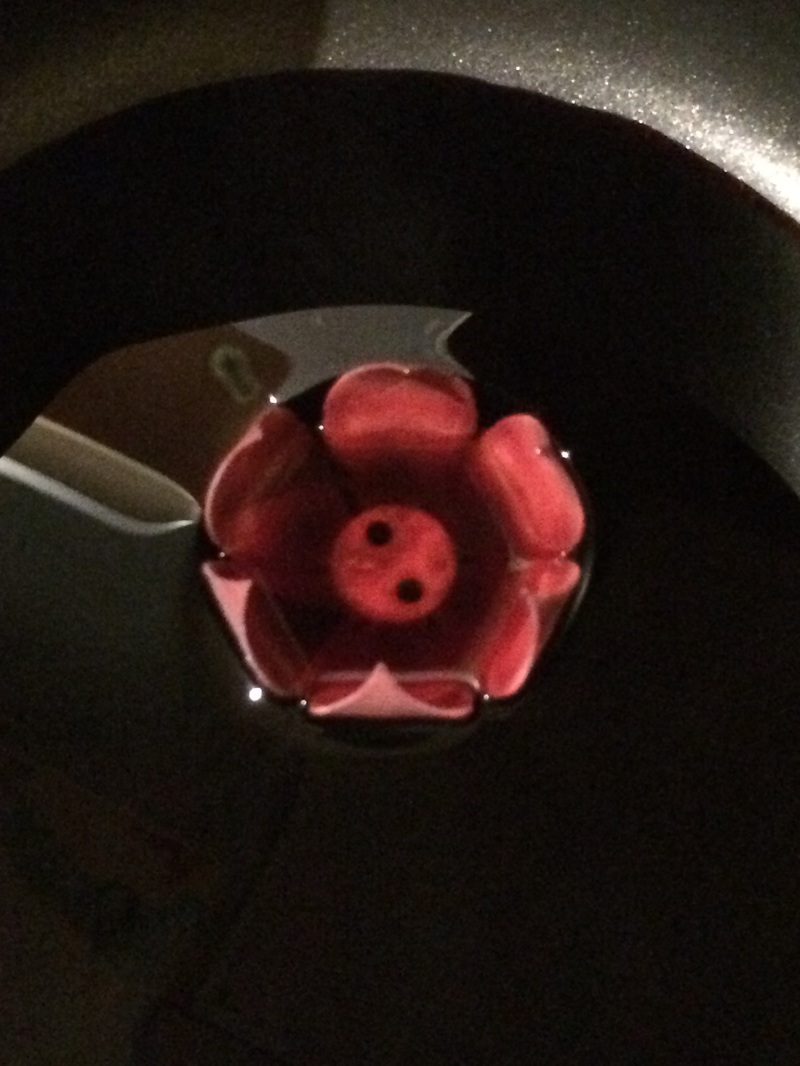
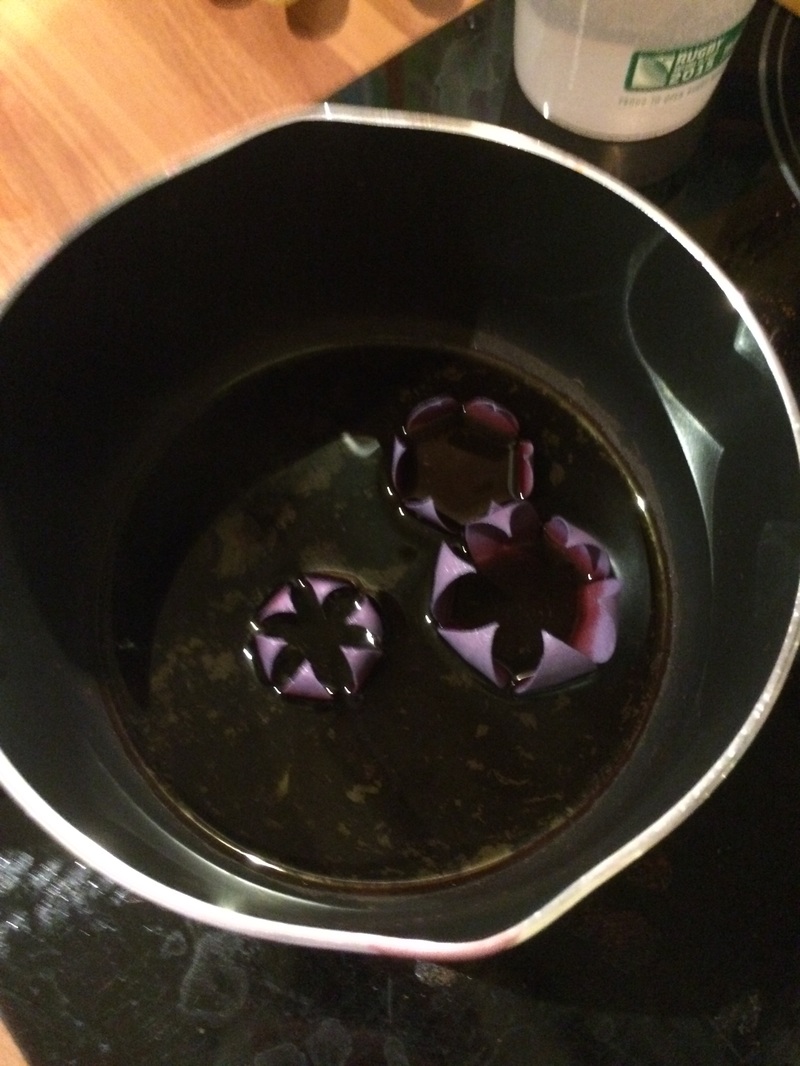
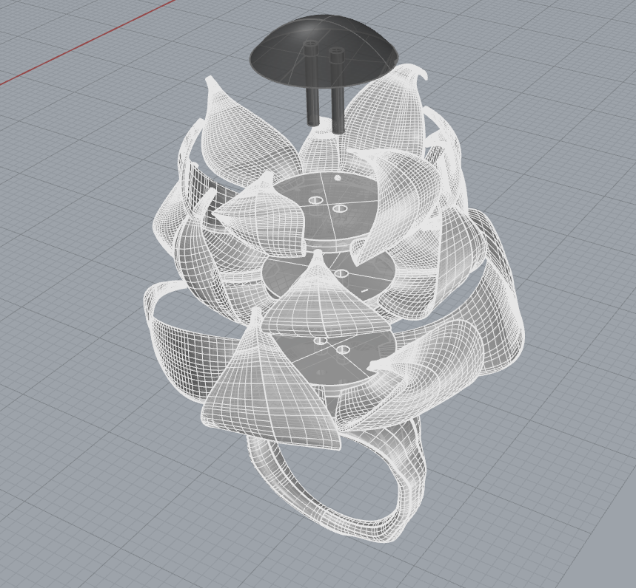
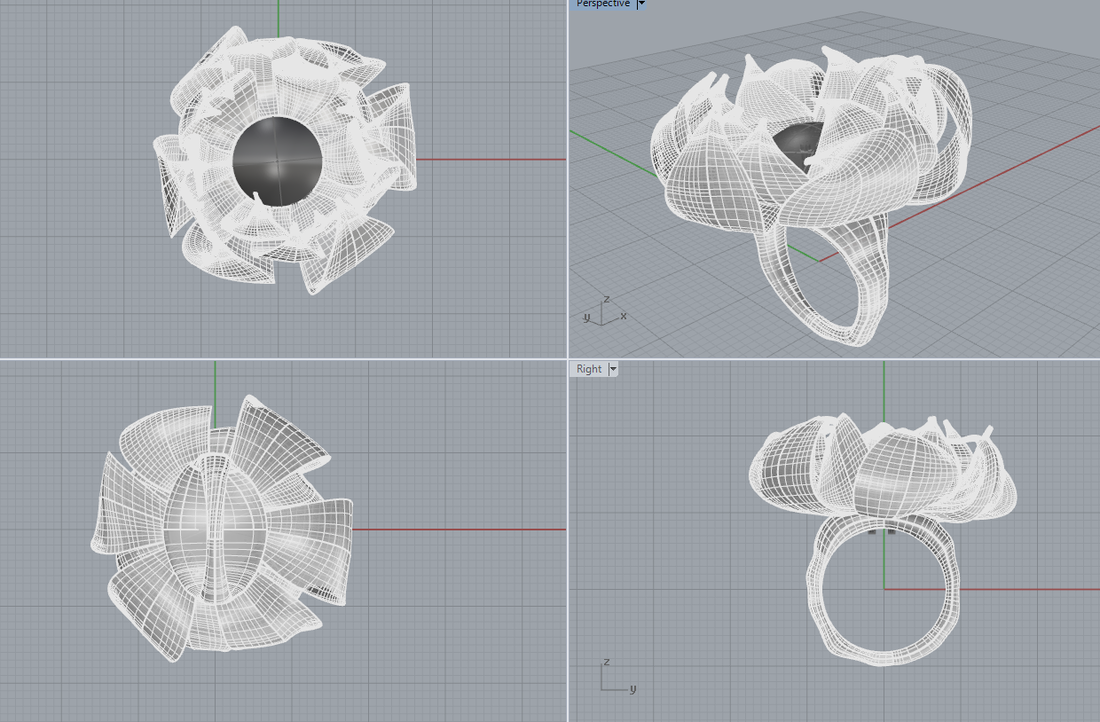
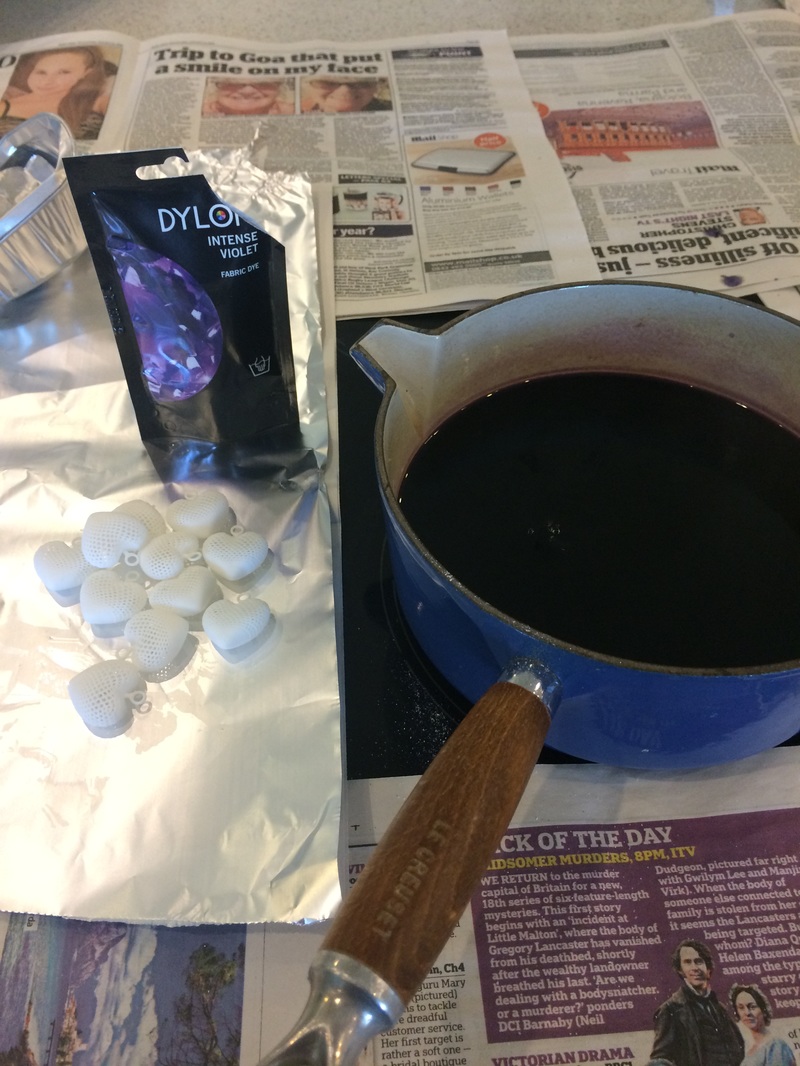
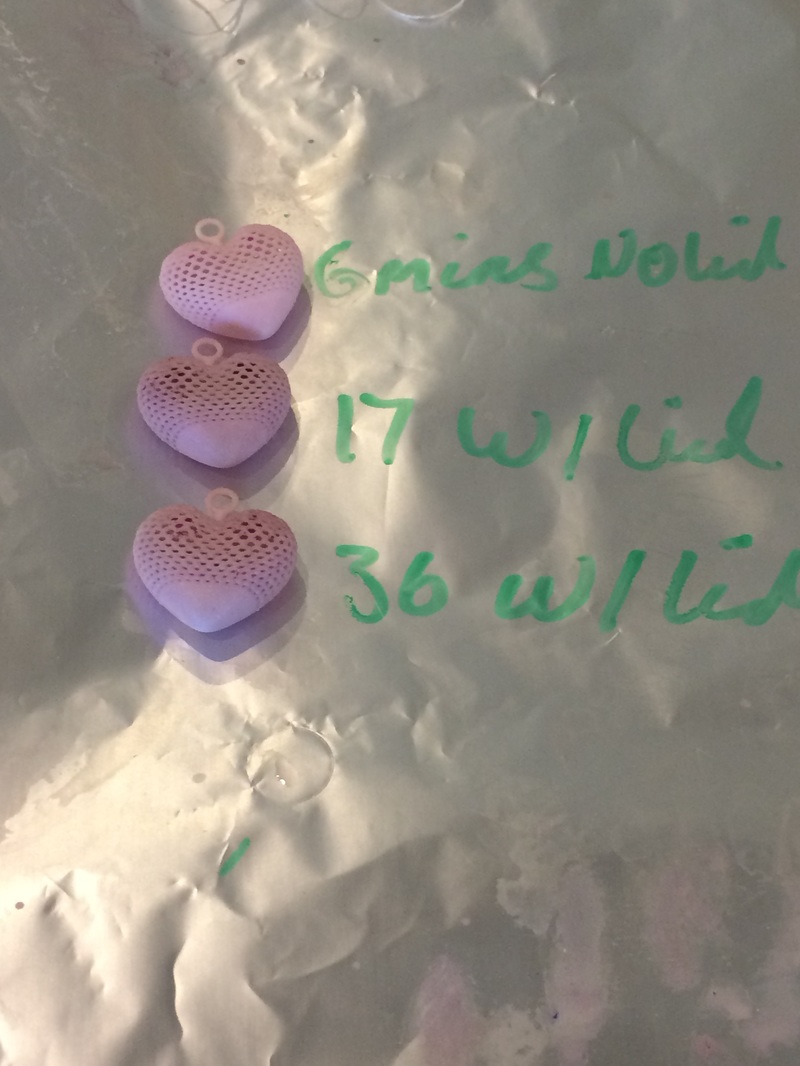
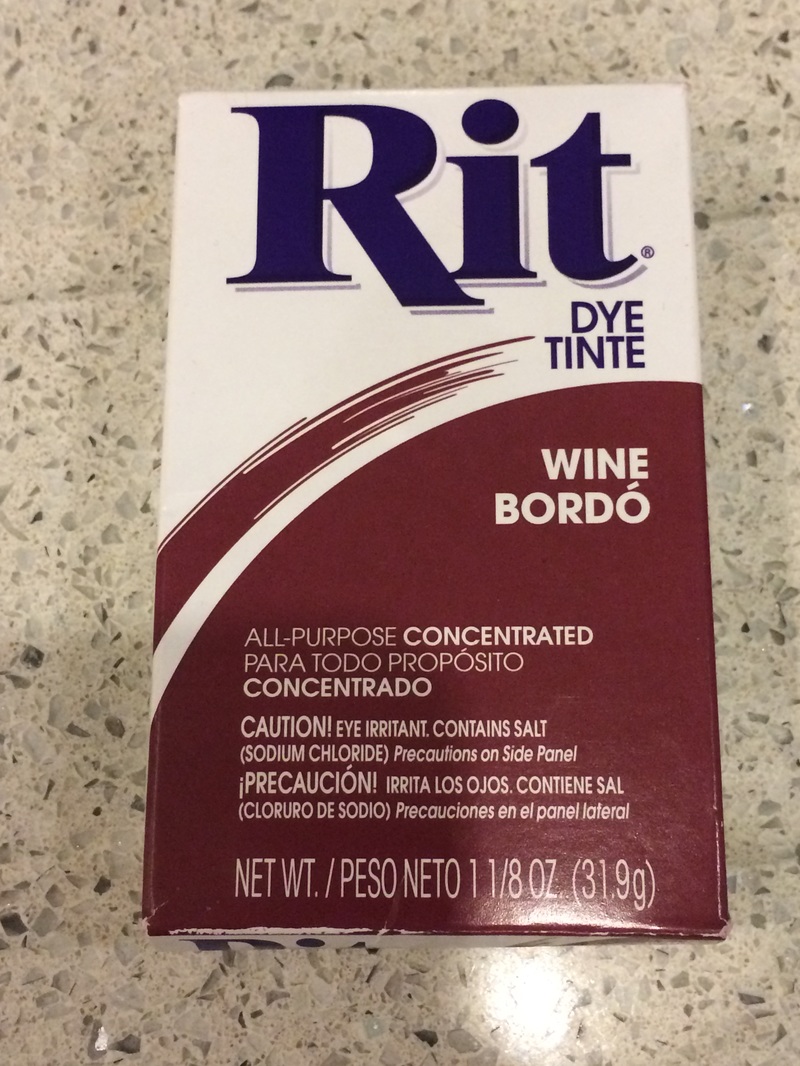
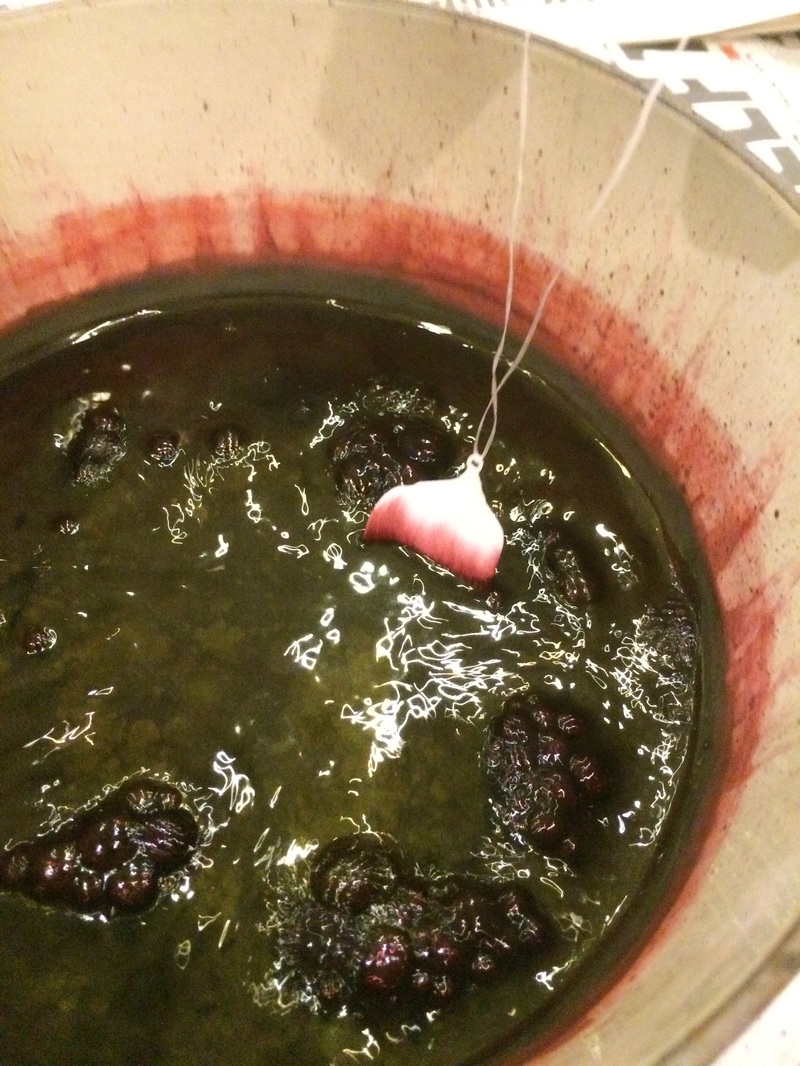
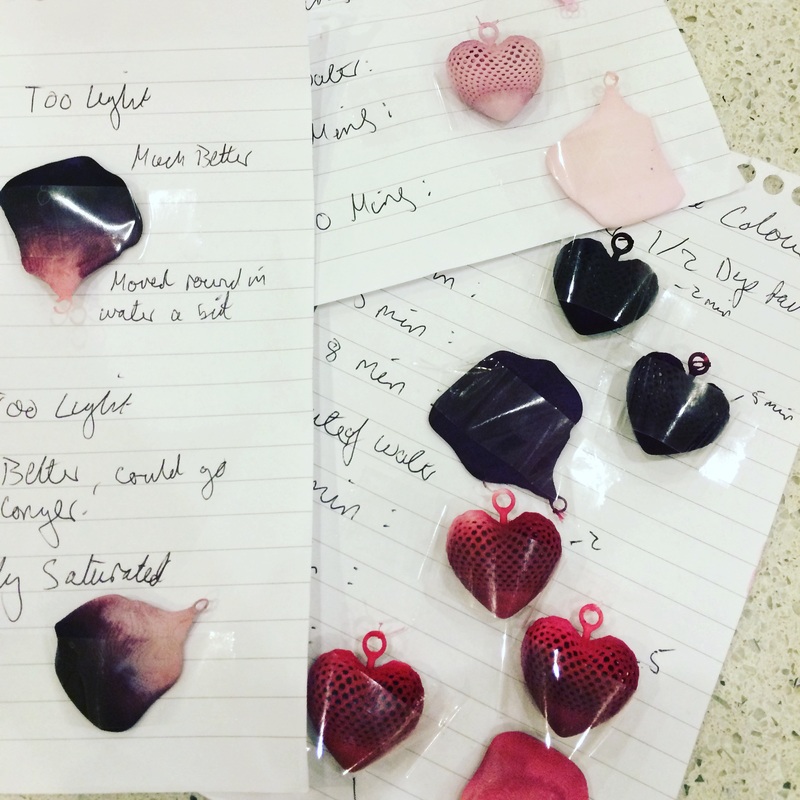
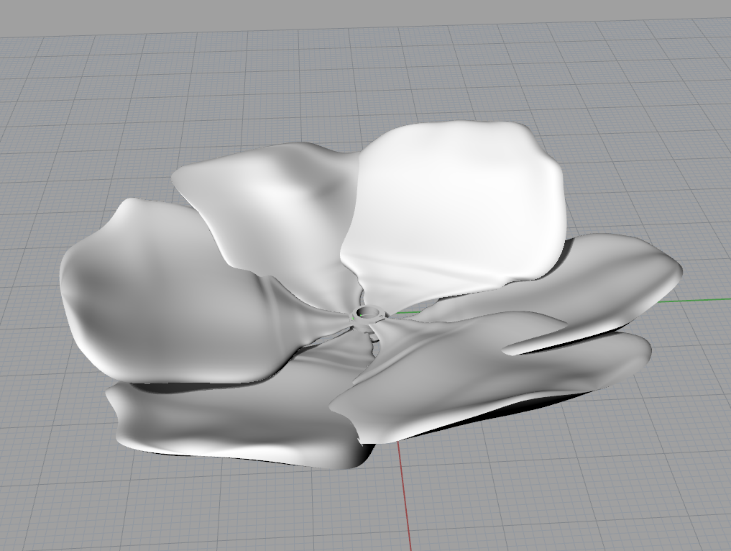
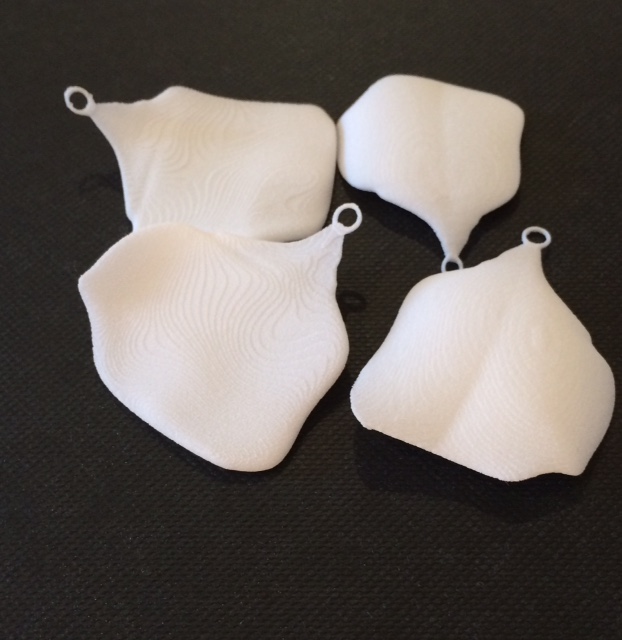
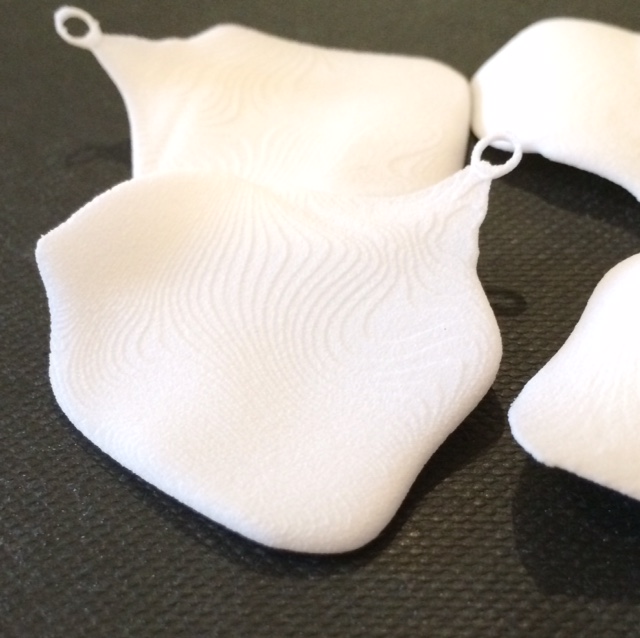
I wrapped some cling film around the flower to keep it clean and safe from any market go on it accidentally and also to stop dirty fingers touching it after polishing; this turned out to be effective. The flower also moves around a bit but that was intended as it means that there is a little more given in it if it were to get caught on something when worn. I also think that it keeps within the organic feeling of the piece with the flower having some movement rather than it just being a rigid set thing. As a working prototype I am pleased withe the way that this can be assembled relatively quickly and I'm sure that in the future if I were to make this again not only would my laser welding skills have improved but I also know what to do next time in terms of offset widths so there is more of a snug fit between the parts. I was a bit nervous doing this as I only had one shot but in the end I am very pleased with the colour result. I decided to have the ombre going from dark to light from the bottom as it felt more natural. Like all dyed Nylon parts, it is fairly easy to scratch so that's something i may look into in the future to see how I could protect the colour more; but as a prototype piece i'm very happy. Now for the assembly! Below are the ring and pin part which came back from the casters Aconia Casting, I'm very pleased with the result and the quality of the finish. This shouldn't take too long to get it cleaned up and highly polished ready for when my D2W box comes back with the box and petals inside of it. if you look in the post below you will be able to see what the CAD file looked line Rhino and see the accuracy that can be achieved with this program. The final D2W box arrived on Saturday and even though it was a challenging time to get the box right in order for it to be printable I got there in the end. After clicking all of the sides together I couldn't be happier with the result of this box. I think it adds a new dimension to the piece as a whole and makes it truly unique. I really like the petals in the white Nylon as it looks so clean cut but I may leave the box white and then dye the petals as originally planned. Final week this week so it's time to get even busier! After I constructed the model I found that the layers could be more refined and the ring shank could do with being made thicker as even made out of silver it will still be on the thin side. I went back into Rhino and scaled everything up which in turn made the petals thicker and therefore more stable and less likely to snap if caught. I also made the layers have just one shape petal as I think this makes it look more sophisticated and stylish. This has now gone of to Digits2Widgets for the final Nylon SLS Print which I shall be getting back on Monday. The shank has and the dome part have been 3D Printed in a castable wax on a printer called Solidscape (see below), so I will be picking up the castings later on today and assembly of the ring should begin next week ready for my deadline on the 29th! Today my second laser sintering test model was delivered and all in all it was a success! As with all models there are improvements and development to be made but the main thing that I was testing, the connector, works which is a huge relief. Over all I think that the flower could be bigger and the ring could probably be thicker too as it looks a bit flimsy. The shank and dome connecting part will be 3D Printed in a castable resin and cast in sterling silver and the final flower will be laser sintered like this model and then hand dyed. The world of CAD/CAM can be pretty alien if you're not familiar with it. Here is a video explaining how the process I am using for my current project (laser sintering) works. This has been taken from Digets2Widgets, the fantastic company that I am using for all of this! After receiving the parts back I realised that the central connection parts just won't work and the flower is far too flat so I went back to Rhino and the good old Sketchbook to do some more problem solving! I've taken the ring back to basics in terms of how it will all connect together to keep things simple with just two pins that will go through the centre of the three layers and then welded into the inside of the ring. The next thing for me to do is to send this model off to D2W to get it all sinetered in order to see if the parts all work and fit together nicely before I do a final print and get the shank and connecting part cast in Silver. After my visit to Digits to Widgets and learning that you can dye the Nylon prints yourself I instantly knew that this was something that I wanted to experiment with. After spending a while looking online and on YouTube trying to find the best way of dying Nylon the two main contenders were Dylon and Rit Dye. I started off trying Dylon first (Intense Violet). Using spare Nylon pieces I soaked them in water over night to remove any dust or particles to make sure the surface was as clean and even as possible. For the dye solution I weighed the parts first (25g) and added the same amount of Dye powder and salt into the pan and then started to heat the solution to a simmer. At first I had the parts in the solution for 6,17 and 36 minutes trying with the lid kept on to see f the steam would help to intensify the colour. Nothing really worked as I was always left with a pretty pale purple after I washed the excess dye off of the part. I then tried adding all of the Dye into the water and leaving the parts out of the solution and letting the steam do the work but I was still left with the same light purple which was disappointing. Safe to say that for me, Dylon is not the way forward. The next dye that I tried was Rit Dye (Wine). Using 1/2 a litre of simmering water and 1/2 of the packet of dye I tested leaving parts in the solution and also out of the solution in the steam (after dipping the parts into the solution just to give them a dye coating). After taking the parts out at 2,5 and 8 minute intervals I had instant success. The colours were intense and they were sticking to the Nylon very well. I liked how different the colours were between the steamed parts and the parts left in the solution. The next step for me was to dip dye the parts as this is what I want to try and do for my ring to create a natural looking flower. Using the same solution I slowly lowered the petals into the solution and the results were fantastic so I am very happy! I just need to try this out again when my next D2W test pieces come back as the petals will be in 3 layers and not individual so I need to see if the same method will work...fingers crossed it does! Knowing that I wanted to use Nylon laser sintering for the flower part of my ring I set about getting something ready to test print so that I could get a physical feel for what the material would look and feel like. It would also give me something to test dying with. I sent it off to Digits2Widgets who are based in London. I chose this company instead of Shapeways as they use the best materials and always try their best to personally help you with your files as best the can. so you can get the most out of your money. Below is the file that I sent to get printed and the results. After receiving the parts back I realised that the central connection parts just won't work and the flower is far too flat so I went back to Rhino and the good old Sketchbook to do some more problem solving!
|
AuthorI am a third year student at the School Of Jewellery in Birmingham. Posts will be based upon my progress through my final year on this DFI course. Archives
June 2016
CategoriesWebsite Copyright
© 2016 Jewellery by Rebecca Wilkes. All content on this site belongs to Rebecca Wilkes. Any images or ideas taken from this website without permission of the site holder will face prosocution. |


 RSS Feed
